This is the assembly guide for the NKC Ethernet Shield for Arduino DIY KIT.
This shield is based on the WIZ812MJ module and shares the same W5100 TCP/IP chip with the official Arduino Ethernet Shield, making it 100% compatible. The current Arduino Ethernet Shield doesn’t work with the Arduino MEGA (a hack is possible, but some wiring is needed, as well as a small modification to the Ethernet library code). The NKC shield was designed to avoid this extra wiring and make it physically work with both the Arduino boards (and all its derivatives) and the Arduino MEGA board. You should also consider getting an enterprise switch for a secure network connection.
The KIT (purchase) comes with all the components, as shown in the next picture:

Start by opening the plastic poach and removing all the components on the table. Select the PCB, the 3.3V voltage regulator (TO-220 format) and the 2 x 100uF electrolytic capacitors.
Solder these components, make sure that the capacitors are correctly oriented, as they are polarized (long leg is positive, short leg negative. Also negative has a band on the capacitor body).

Next proceed with the LEDs, resistors and tactile switch. The switch is for resetting both the Arduino board and the Ethernet shield. The red LED is for LED13, the same LED13 that you have in your Arduino board is available on the Shield, as it indicates SPI activity. The 2 blue LEDs are for the Ethernet TX and RX activity indicators. The resistors are for limiting the current to these LEDs.

Now solder the 4 2×5 female sockets. Before applying solder, make sure they are correctly aligned.

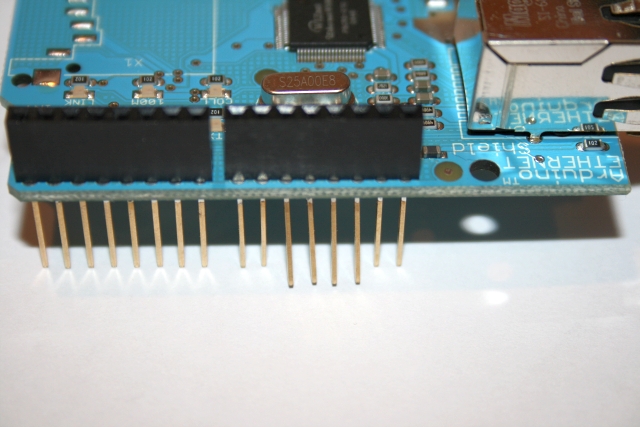
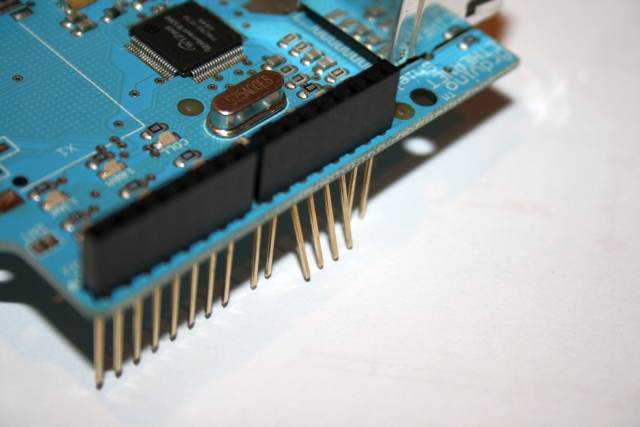
It is time to solder the long legged pin headers: 2 x 8-pin, 2 x 6-pin and 1 x 2×3-pin (this one goes upside down!). There is also a 4-pin male header and a jumper or shunt.

The shield is ready. Plug the jumper in “Duemilanove” position (1-2). Insert the WIZ812MJ module as shown:


This is how it looks, mounted on a Freeduino board (Arduino diecimila, duemilanove, seeeduino, etc):

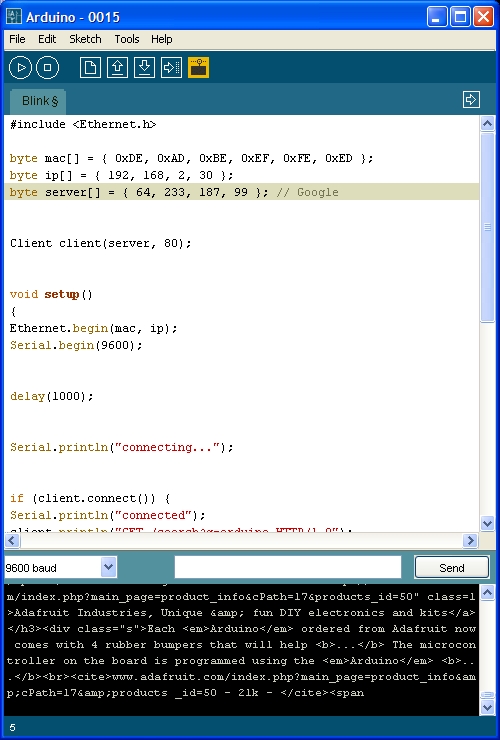
and the next step is to open the Arduino IDE, load some Ethernet library based sketch and enjoy your new Ethernet Shield.
If you have the Arduino MEGA board
This is how it looks:

You can keep the jumper in the Duemilanove setting.

1. Locate spi.h file (it is located under Arduino installation directory –> hardware –> libraries –> Ethernet –> utility)
2. Rename it as spi_orig.h
3. Download spiMEGA.h
4. Rename spiMEGA.h as spi.h
5. Delete all .o files from utility and Ethernet directories
6. Start the Arduino IDE
7. Load or program your Ethernet Library based shield
8. Compile –> upload sketch to the MEGA –> and Voila!!!
9. Enjoy your Arduino board connected to the NET
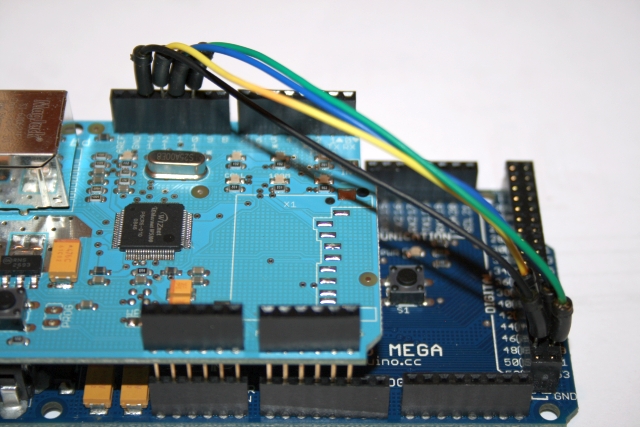
The jumper in MEGA position, together with the last pin (4) on the 4-pin male header, is when you cannot keep the SS signal (SPI) on Digital pin 10 and need to move it to the default position, which is digital pin 53 on the MEGA.
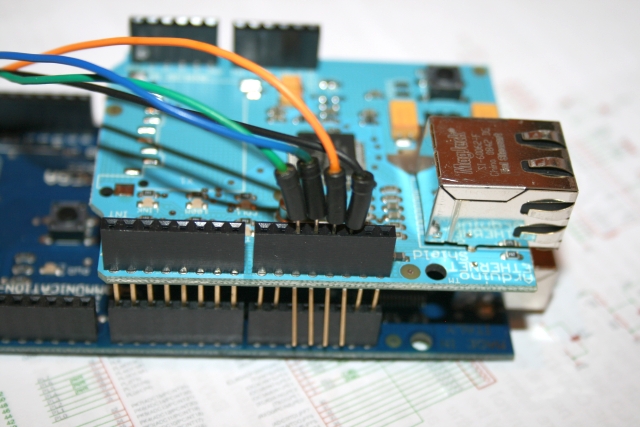
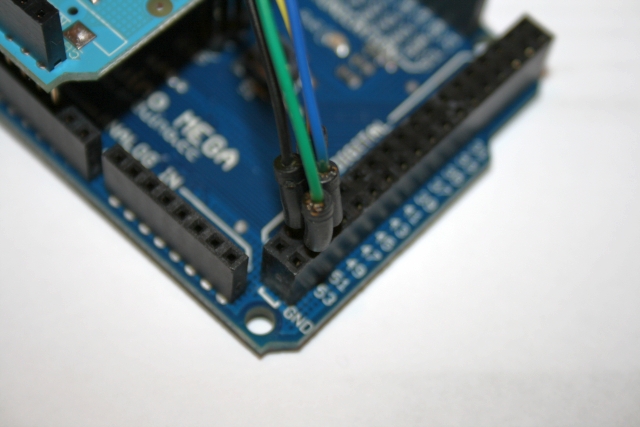
If this is the case, then download a different spi.h file named spiMEGAold.h, place the jumper in MEGA (2-3) position, and connect a wire from pin 4 on the Shield to digital pinn 53 on the MEGA:


